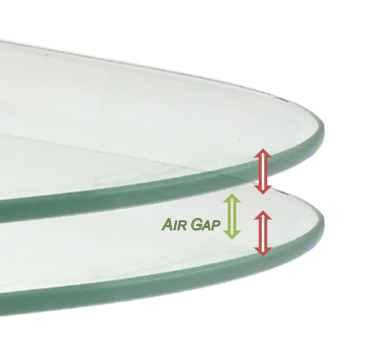
Laminated glass (eg. Windshield) is produced by inserting a film of plastic material (PVB) between two layers of glass (crystals).
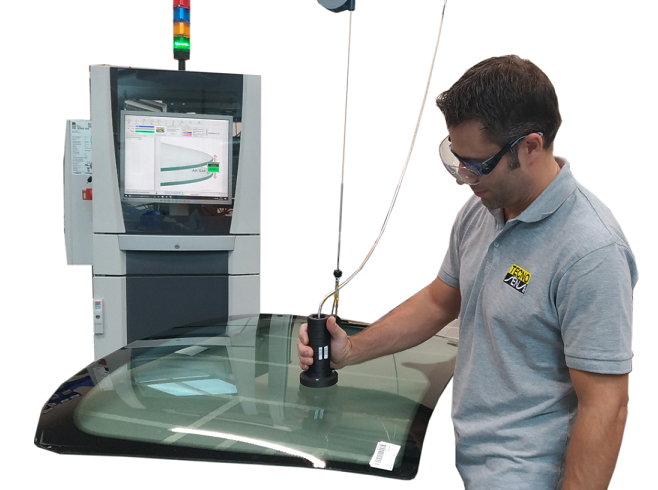
Tecnosens AGS is a tool that allows to identify and measure in a fast and accurate way the gaps that are created between the joined crystals. This gaps are also called mismatches.
Tecnosens AGS system allows to save and analyze all the captured data through statistic methods, highliting all the points where the glasses don't match perfectly.

APPLICATIONS
Tecnosens AGS can be adopted with several purposes, including:
- Mismatch identification and storage of the laminated glasses in the points of interest
- Check of the thickness of the crystals and of glasses in general
FEATURES
- Precision: each measurement is the result of the average of 100 ACQUISITIONS, thus ensuring precision to the micron.
- Speed: the value is captured, saved, elaborated in less than a second.
- Traceability: every measure is stored in a database, accessible at any moment for the whole life of the tool.
- Statistics: AGS software creates statistic analysis of the measurement. Available also statistic packages for SPC, Capabilities, MSA
- User friendly: AGS software is easy to use, with graphical interfaces, charts and wizards for configurations.
- Customization: AGS software, developed by Tecnosens, can be customized in order to meet the customer’s needs.
- Integration: it is possible to integrate the tool with several peripheral devices, for instance, to find automatically the points to measure or to automate the process (robot)
OPTIONS
Possible options for Tecnosens AGS include:
- Integration with an automatic sensor’s positioning system on the glass to be measured (Robot)
- Interface with industrial PLC through I/O or Ethernet connections thanks to the drivers built by the producers (including Allen Bradley, Siemens, Omron).
- Possibility to program events or to generate alarms depending on the productive process.


