In control quality, sensors play a fundamental role. They allow to monitor the thickness, the outline and the dimensions of a surface or of a finished product, both transparent and not.
Quality control monitoring
Quality control monitoring
Our solutions for quality control monitoring in line and off line
| Product | Description | Working distance | Accuracy | Working frequency | Output | Measurement range | Working temperature | Power Supply | Connection | Dimension (W x H x L) | Material | Weight (grams) |
|---|---|---|---|---|---|---|---|---|---|---|---|---|
|
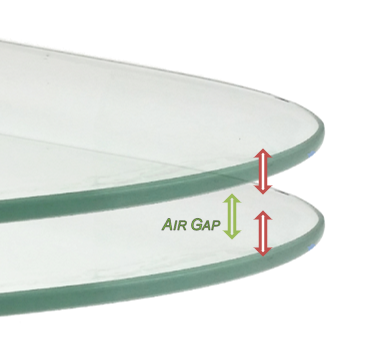
AirGap System - AGS TECNOSENS AGS is a tool to identify and measure in fast and accurate way the spaces that are created among the crystals, also said mismatch. The system TECNOSENS AGS allows to save and analyze through statistic methods the captured data, hilighting the points where the glasses don't perfectly match. |
Working distance
11mm ... 16,4mm ... 29mm
|
Accuracy
0,8µm ... 3µm ... 9µm
|
Working frequency
Up to 2000 measurements per second
|
Output
Digital output Ethernet / RS232
|
Measurement range
0,4mm .... 4mm .... 12mm
|
Working temperature
5°C - 50°C
|
|||||
|
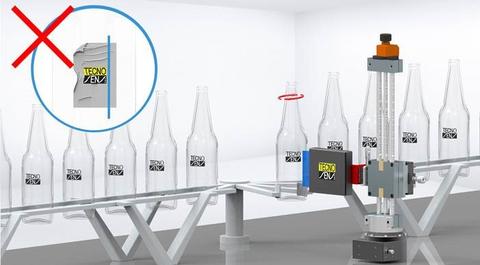
Caliber ZetaPi Tecnosens ZetaPi prevents labelling folds in production line and spots any defect. Additionally it can also run an easy and fast check of the shape of the container, including logo and thickness. |
Accuracy
< 2µm
|
||||||||||
|
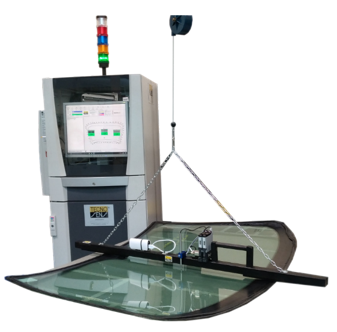
Caliber WI Tecnosens Caliber WI measures the bending of glass using LVDT technology and Wireless connection. The solution is available for off-line and in-line measurements. | |||||||||||
|
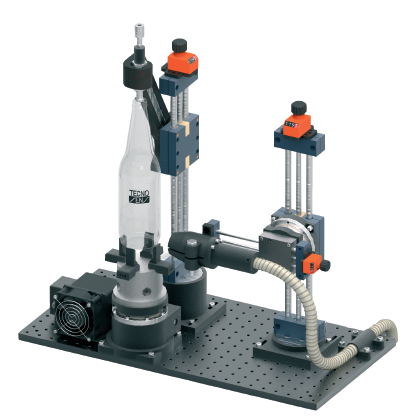
Caliber Dot Scan Every glass bottle has an identification number : Caliber Dot Scan has been created to read this code and communicate it to every control machine, in this way it is possible to understand which mold has produced which bottle and remove it in case of wear. |
Working temperature
0 - 40°C
|
Power Supply
24 - 36 VDC - 6 A
|
Connection
2 Ehternet doors and 2 USB doors
|
Dimension (W x H x L)
517x465x338 mm
|
Material
Chassis material: industrial chassis, painted metal
|
Weight (grams)
22000 gr
|
|||||
|
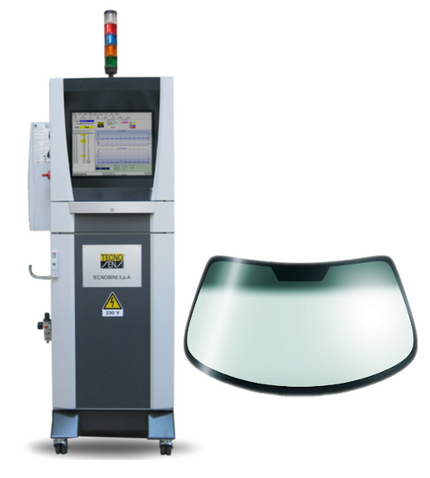
7341 A system for measuring the shape and perimeter of glass. A wide range of solutions that integrate digital technologies both in contact and not in contact according to customer needs. These managed systems are both online and offline, a huge leap in quality in the production process, data traceability and reduction of control times. | |||||||||||
|
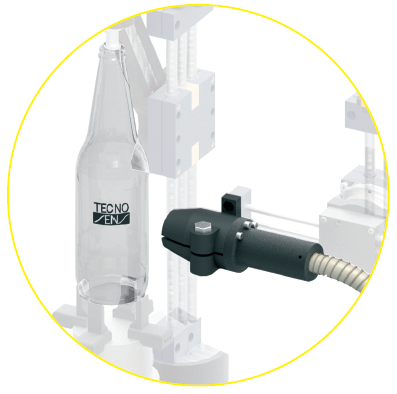
Caliber Logo Scan Caliber Logo Scan allows to achieve an objective measurement, with complete traceability and on 100% of the production in quality control of logos printed on glass bottles. |
Working temperature
0 - 40°C
|
Power Supply
24 - 36 VDC - 6 A
|
Connection
2 Ehternet ports e 2 USB ports
|
Dimension (W x H x L)
517x465x338 mm
|
Material
Chassis material: industrial chassis, painted metal
|
Weight (grams)
22000 gr
|
|||||
|
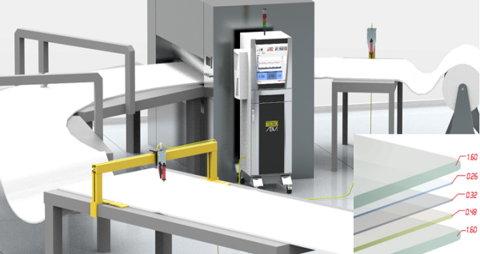
Multi Layer TECNOSENS MULTI LAYER is a tool to identify and measure in fast and accurate way all the layers that compose a laminated glass, including all the plastics between the glass. |